Cherry Pie Bars Story & Homemade Comfort
A nostalgic cherry pie bars memory
Hi, I’m Ethan—and every time I make Cherry Pie Bars, I’m instantly transported back to a warm afternoon in that small, sunlit kitchen where my love for baking began. I remember watching a bubbling cherry pie cool on the counter, but honestly, waiting for slices felt like forever. That’s exactly why Cherry Pie Bars became a staple in my kitchen later on.
They gave me everything I loved about pie—sweet cherries, buttery crust, and that irresistible aroma—but without the patience test. I could bake, cool, slice, and serve in half the time. Over the years, I’ve tweaked this Cherry Pie Bar Recipe to make it even easier and more reliable for everyday baking.
Even now, when I pull a pan of Easy Cherry Pie Bars from the oven, that same comforting smell fills the room. It’s simple, familiar, and incredibly satisfying. And the best part? You don’t need fancy skills to make it happen.
Why cherry pie bars are better than traditional pie
Cherry Pie Bars offer a practical twist on a classic dessert. First, you skip the hassle of rolling dough. Instead, you press and layer, which saves time and effort. Also, these bars bake evenly in a single pan, so you don’t worry about soggy bottoms or overcooked edges.
Another reason people love Cherry Pie Bars is their versatility. You can serve them at parties, pack them for picnics, or enjoy them as a quick dessert after dinner. Plus, they slice neatly into squares, making portion control easier.
If you enjoy experimenting, you can explore ideas like using cherry pie filling in creative desserts or pairing them with other treats like easy dessert bars recipes. These combinations help you expand your baking without complicating your process.
Simply put, Cherry Pie Bars combine convenience, flavor, and nostalgia into one easy-to-make dessert.
Cherry Pie Bars Ingredients & Easy Preparation
Essential ingredients
To make the best Cherry Pie Bars, you only need a handful of simple pantry ingredients. Each one plays a key role in creating that soft, buttery texture and rich cherry flavor.
| Ingredient | Purpose |
|---|---|
| Unsalted Butter | Creates rich, tender crust |
| Granulated Sugar | Adds sweetness and structure |
| Flour | Forms the base of the bars |
| Cherry Pie Filling | Provides fruity flavor and texture |
| Almond Extract | Enhances cherry flavor |
Using canned filling makes this Cherry Pie Bar Recipe quick and consistent. However, you can also explore variations like cherry cranberry blends if you want a slightly tart twist.
Step-by-step easy cherry pie bars method
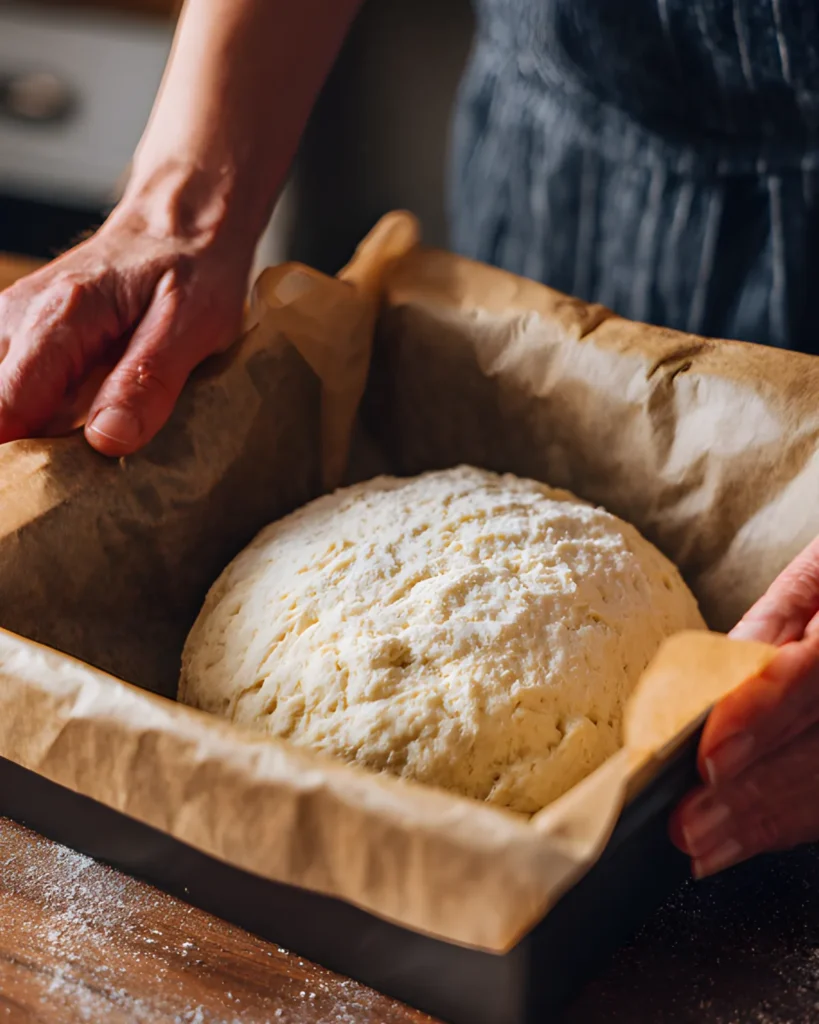
First, preheat your oven and prepare your pan. Then, cream the butter and sugar until light and fluffy. This step ensures your Cherry Pie Bars turn out soft and tender.
Next, mix in vanilla and almond extract. Gradually add flour, baking powder, and salt. Stir until the dough comes together smoothly. After that, press two-thirds of the dough into the pan to form a base layer.
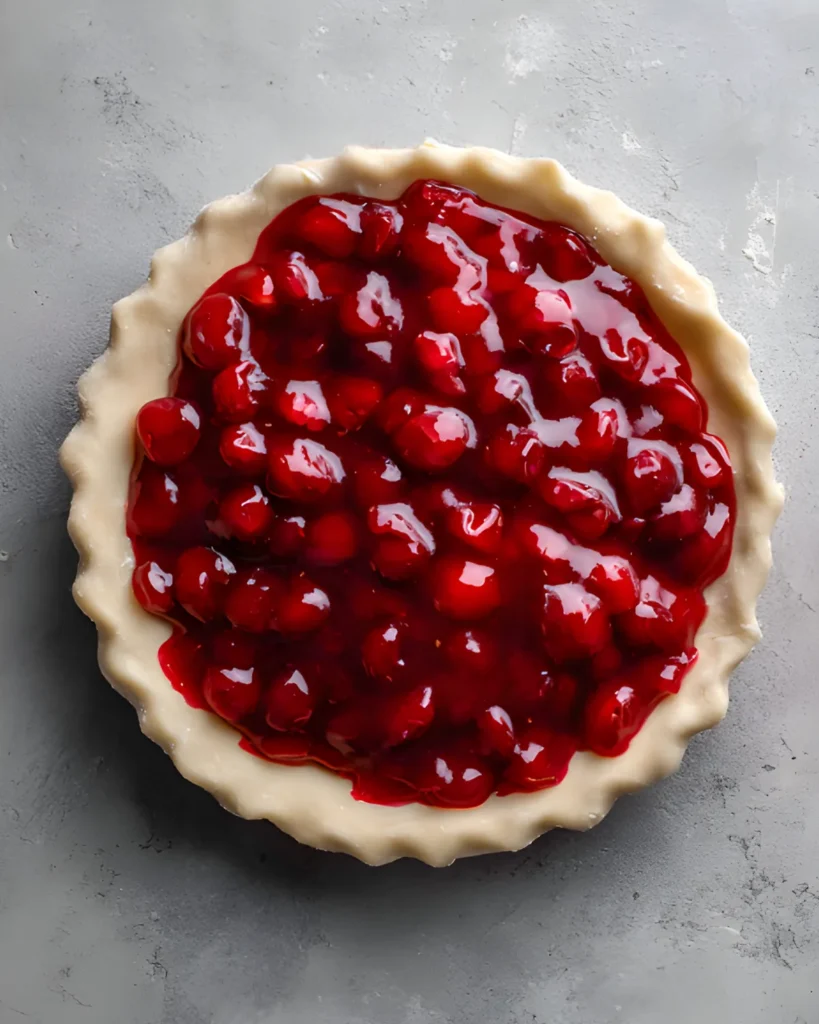
Spread the cherry pie filling evenly over the crust. If you prefer a firmer base, bake it briefly before adding the filling. Then, drop the remaining dough on top in small portions.
Bake until the top turns lightly golden. Once done, allow the bars to cool completely before adding glaze. This step prevents the glaze from melting into the bars.
For more baking inspiration, you can check ideas like simple fruit dessert recipes or try pairing with easy homemade bar desserts to expand your dessert menu.
With this simple process, Cherry Pie Bars become a reliable go-to dessert for any occasion.
Cherry Pie Bars Tips, Variations & Expert Tricks
Pro tips for perfect
If you want your Cherry Pie Bars to turn out perfect every time, a few simple tips make a big difference. First, always use butter that is barely softened. If it melts too much, the dough becomes greasy and harder to work with. Also, mix the dough just until combined. Overmixing can make the bars dense instead of soft.
Next, spread the cherry pie filling evenly. This step ensures every bite of your Cherry Pie Bar Recipe has balanced flavor. If you notice too much liquid in the filling, drain a small amount before spreading. That way, your bars won’t turn soggy.
Additionally, let the bars cool completely before slicing. Although it feels tempting to cut them early, cooling helps them set properly and hold their shape. For clean slices, use a sharp knife and wipe it between cuts.
If you enjoy experimenting, you can pair these with treats like classic baked dessert ideas or explore combinations similar to homemade fruit bar recipes.
Easy variations and vegan cherry pie bar
Cherry Pie Bars adapt easily to different preferences. For example, you can swap almond extract with vanilla if you prefer a milder flavor. You can also mix cherry with cranberry filling to create a slightly tangy version.
For a crunchier texture, add chopped almonds or oats to the topping. This small change adds depth and makes your Easy Cherry Pie Bars feel more bakery-style.
If you want a vegan version, replace butter with plant-based butter and use a dairy-free glaze. Many store-bought cherry fillings already fit vegan diets, but always check labels to be sure.
You can even turn this recipe into Cherry Pie Squares Recipe variations by baking in a larger pan for thinner bars. This option works well for parties and gatherings.
With these ideas, Cherry Pie Bars become more than just one recipe—they turn into a flexible dessert you can customize anytime.
Cherry Pie Bars Serving, Storage & Final Touches
Best ways to serve
Cherry Pie Bar taste incredible on their own, but you can elevate them with a few simple serving ideas. First, serve them slightly chilled for a firmer texture, or at room temperature for a softer bite. Both options highlight the buttery crust and sweet cherry filling.
For an extra indulgent touch, add a scoop of vanilla ice cream or a dollop of whipped cream. The creamy texture balances the fruity filling perfectly. If you want a more elegant presentation, dust a little powdered sugar on top before serving.
These Easy Cherry Pie Bars also work great for gatherings. Since they slice neatly, you can serve them at parties, picnics, or family dinners without any hassle. If you enjoy pairing desserts, try serving them alongside easy homemade dessert ideas or combining them with fruit-based dessert recipes for variety.
How to store cherry pie bars properly
To keep your Cherry Pie Bar fresh, store them in an airtight container. At room temperature, they stay good for up to two days. However, refrigeration extends their freshness up to five days.
If you plan to store them longer, freezing works well. Wrap each bar individually, then place them in a freezer-safe container. When ready to eat, thaw them in the fridge overnight.
Additionally, always let the glaze set before storing. This step prevents sticking and keeps the bars looking clean and appealing.
With proper storage, your Cherry Pie Bar Recipe stays just as delicious days later, making it perfect for meal prep or make-ahead desserts.

FAQs
PAA1: Can I use fresh cherries instead of pie filling?
Yes, you can use fresh cherries. However, you need to cook them with sugar and cornstarch first to create a thick filling similar to canned cherry pie filling.
PAA2: Why are my cherry pie bars soggy?
Excess moisture from the filling often causes sogginess. Drain a bit of liquid or pre-bake the crust for a few minutes before adding filling.
PAA3: Can I make cherry pie bars ahead of time?
Yes, Cherry Pie Bars work perfectly as a make-ahead dessert. Store them in the fridge and glaze before serving for best results.
PAA4: How do I cut clean cherry pie squares?
Let the bars cool completely, then use a sharp knife. Wipe the blade between cuts to keep edges neat.
Conclusion
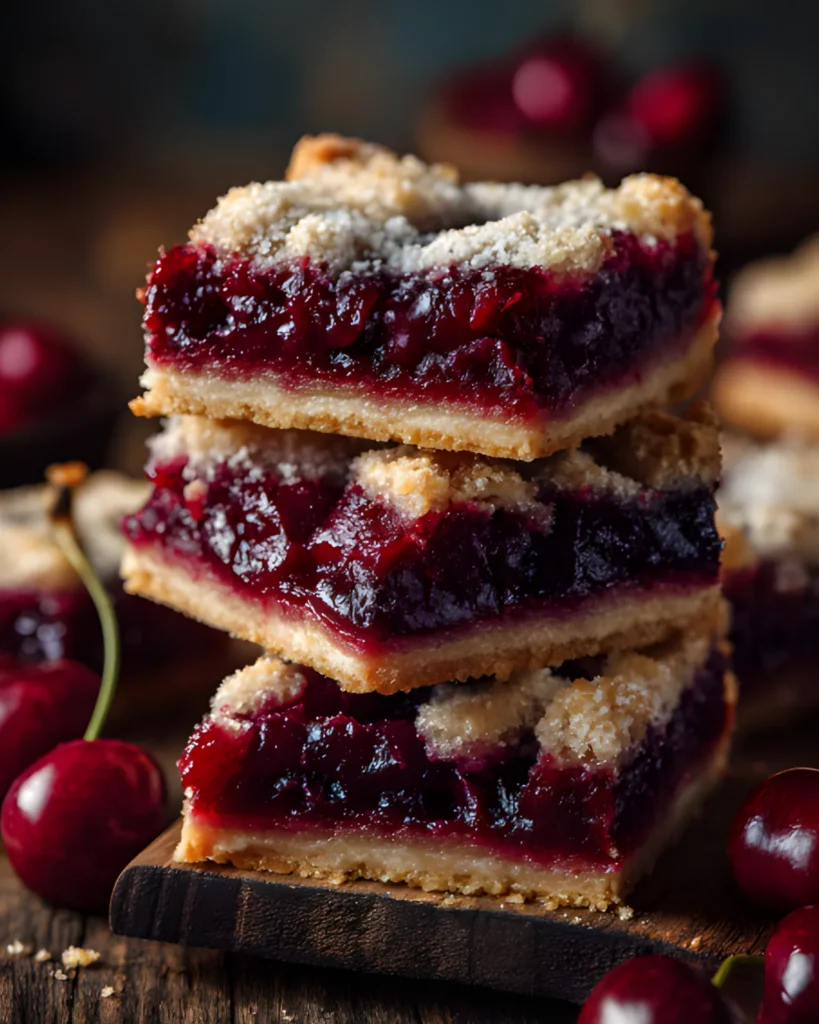
Cherry Pie Bar combine simplicity, flavor, and nostalgia into one easy dessert. With a buttery crust, sweet filling, and light glaze, they deliver everything you love about pie without the extra effort. Whether you follow the classic Cherry Pie Bar Recipe or try creative variations, these bars always impress. Plus, they store well and serve beautifully for any occasion. Once you make them, they’ll quickly become a go-to favorite in your kitchen.
Print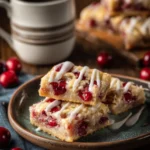
Cherry Pie Bars – Ultimate 5-Step Easy Delicious Recipe
- Total Time: 40 mins
- Yield: 16 bars 1x
- Diet: Vegetarian
Description
Easy Cherry Pie Bars with buttery crust, sweet filling, and light glaze.
Ingredients
1 cup unsalted butter
¾ cup sugar
1 teaspoon vanilla extract
½ teaspoon almond extract
2 cups flour
½ teaspoon baking powder
¾ teaspoon salt
21 oz cherry pie filling
½ cup powdered sugar
¼ teaspoon almond extract
1 tablespoon milk
Instructions
1. Preheat oven to 350°F and line pan
2. Beat butter and sugar until fluffy
3. Add extracts and mix
4. Add dry ingredients and combine
5. Press dough into pan
6. Spread cherry filling
7. Add remaining dough on top
8. Bake 20–30 minutes
9. Cool completely
10. Mix glaze and drizzle
11. Slice and serve
Notes
Do not overmix dough
Cool completely before slicing
Adjust glaze consistency as needed
- Prep Time: 15 mins
- Cook Time: 25 mins
- Category: Dessert
- Method: Baking
- Cuisine: American
Nutrition
- Serving Size: 1 bar
- Calories: 220
- Sugar: 18g
- Sodium: 120mg
- Fat: 10g
- Saturated Fat: 6g
- Unsaturated Fat: 3g
- Trans Fat: 0g
- Carbohydrates: 30g
- Fiber: 1g
- Protein: 2g
- Cholesterol: 30mg